1)「canvas」を使って準備する。
・まず、画面の中にCanvasを設置しましょう。これが土台になります。
*「Canvas」を設置したら「ダブルクリック」して全体を表示しておきましょう。
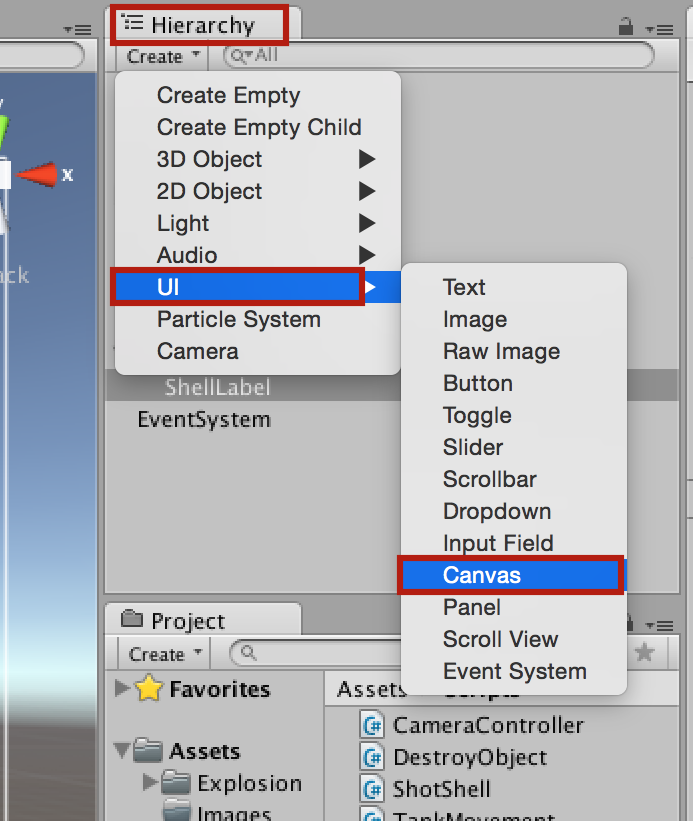
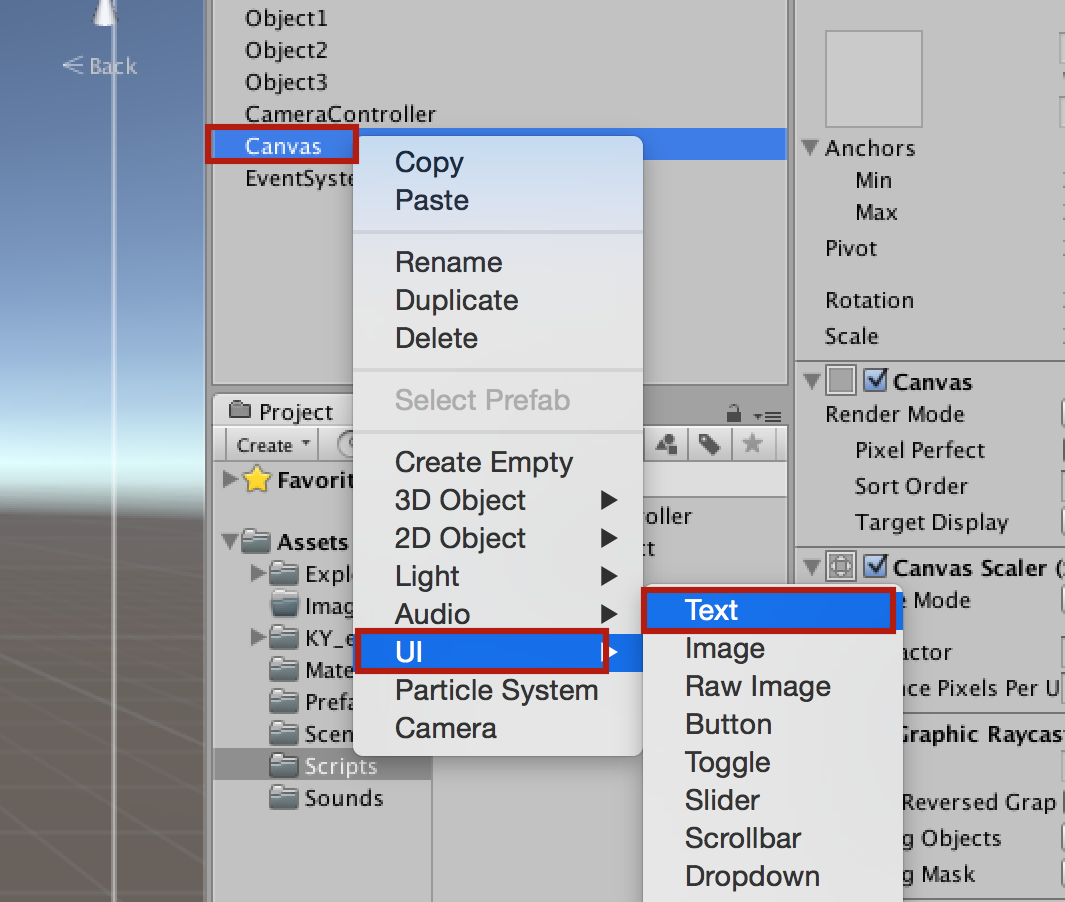
次に「Canvasの上で右クリック」→「UIを選択」→「Textを選択してクリック」
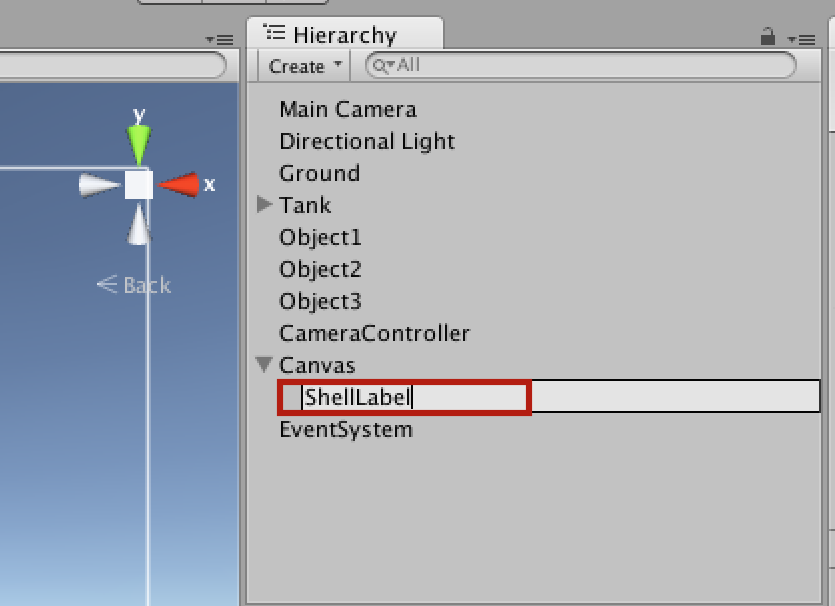
「Text」の名前を「ShellLabel」に変更
表示する「文字」の「大きさ等」は自由に決めてください。
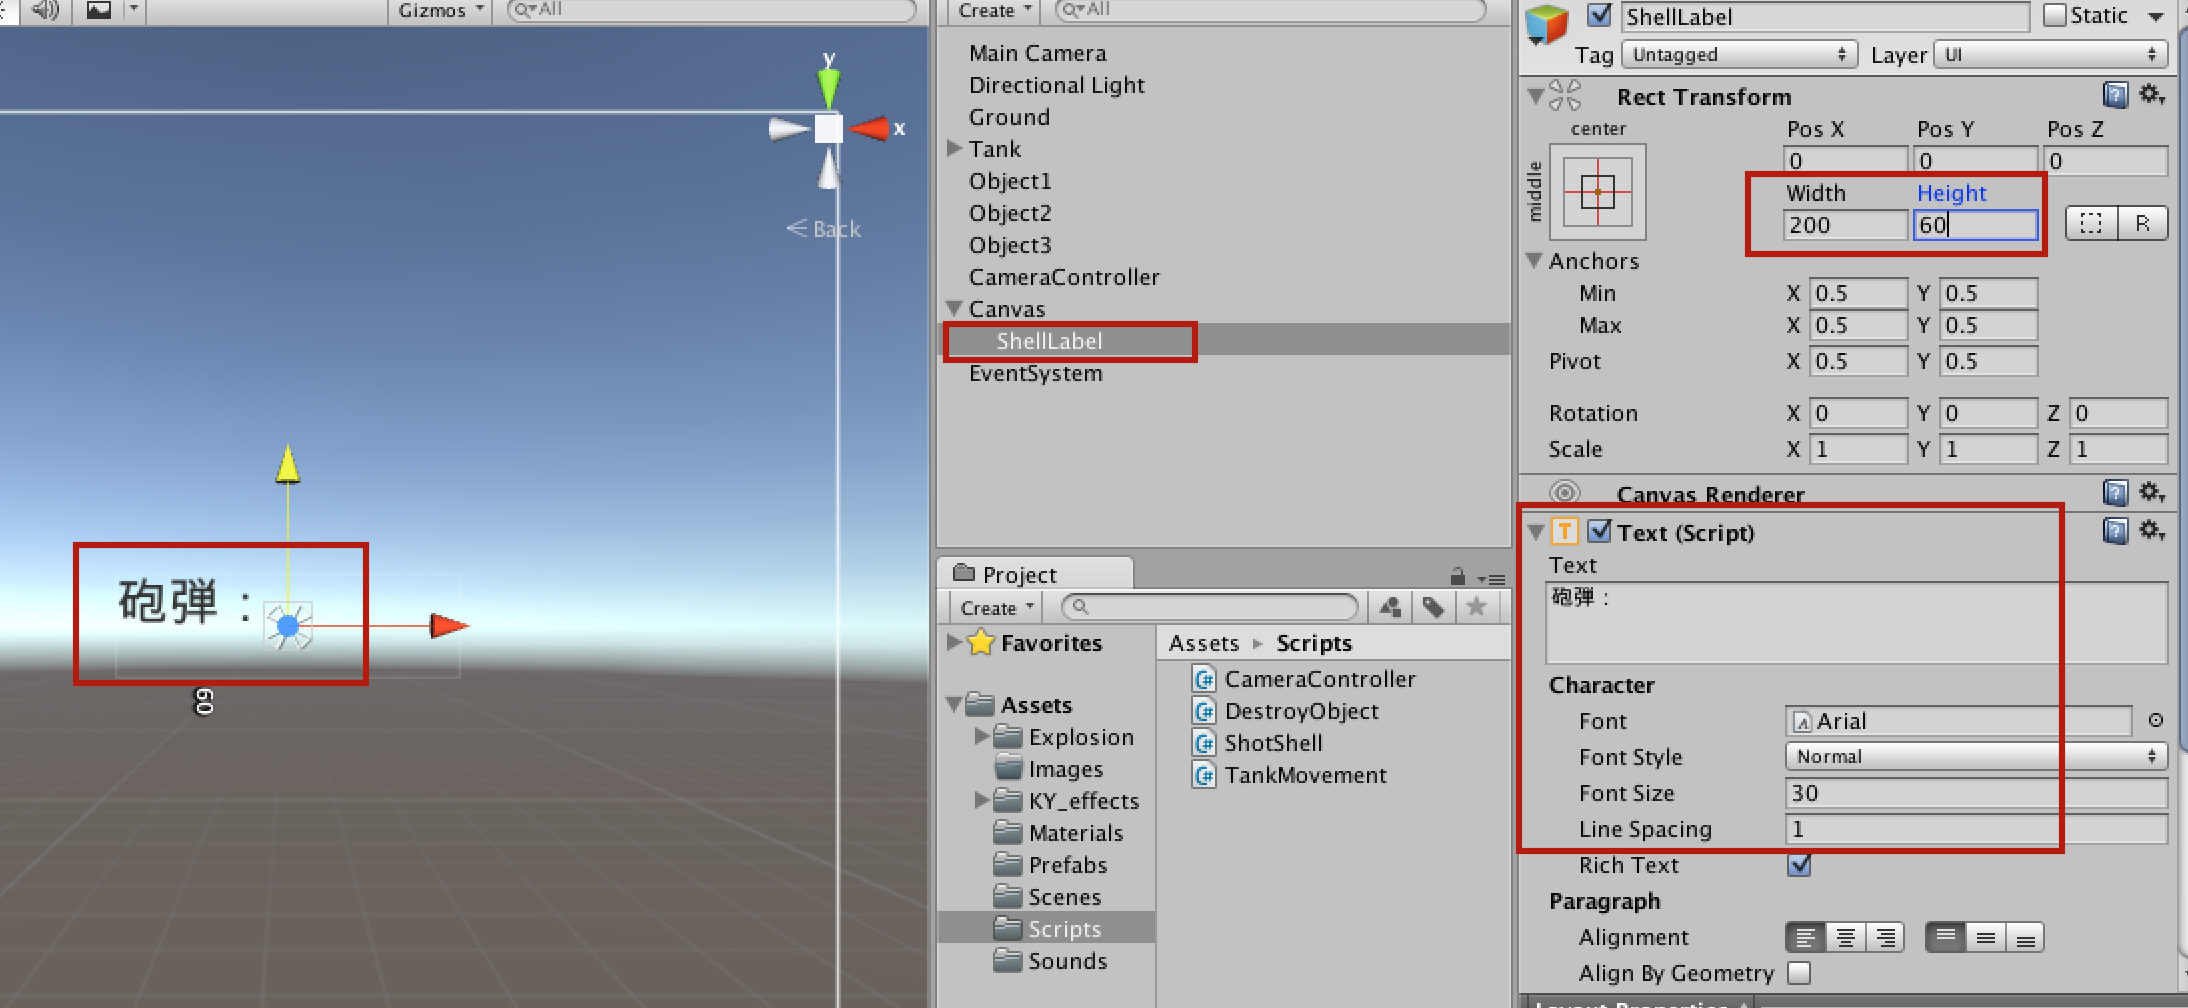
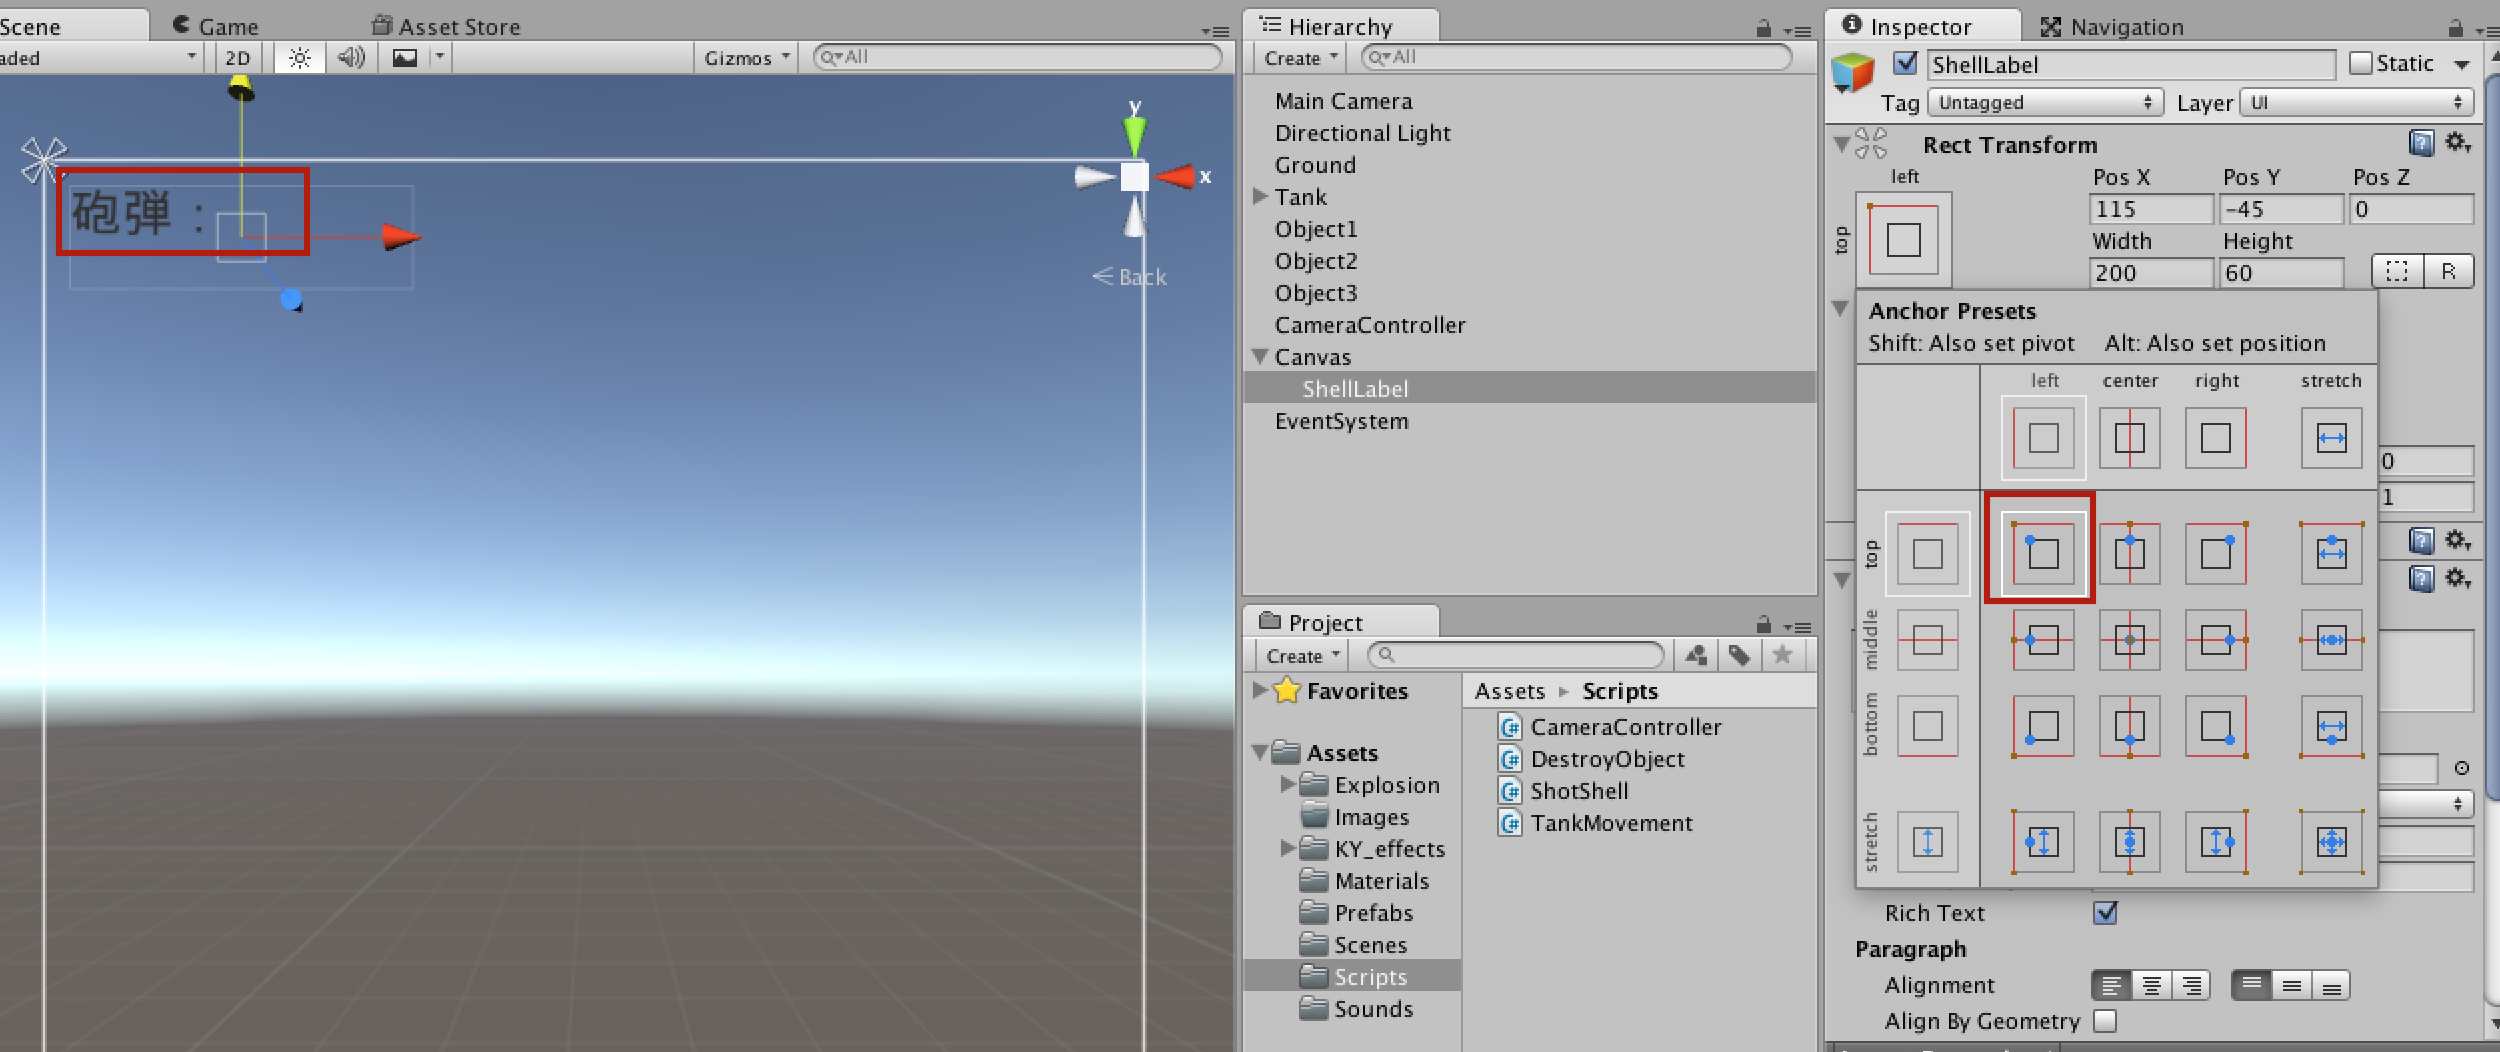
今回は画面の「左上」に「残弾数」が表示されるようにします。
(テクニック)
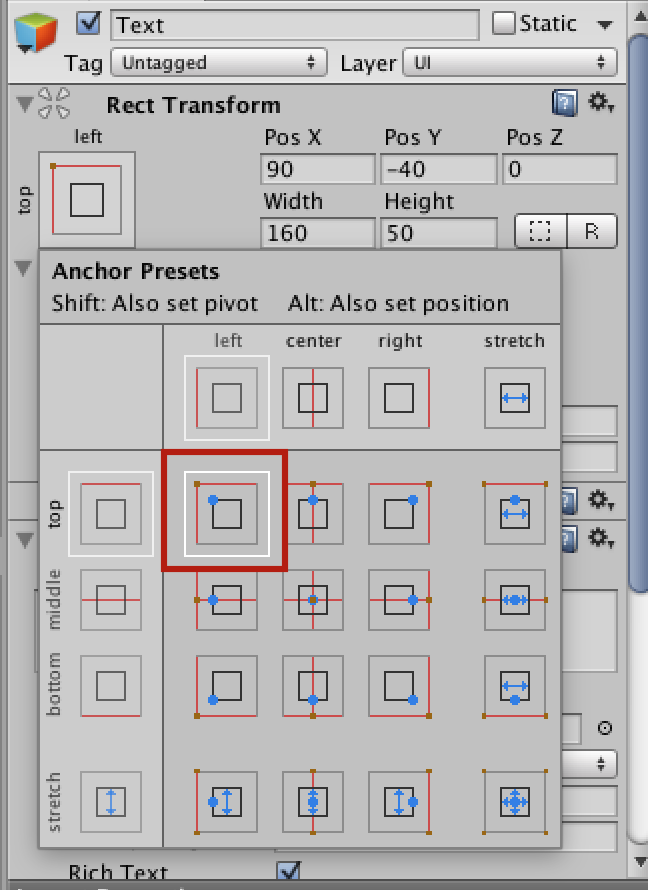
*テキストラベルの位置を決める場合のポイント
テキストラベルを「左上に設置」する場合には、下記ボタンを選択して、「左上が基準点」になるようにします。
2)コードを追加する。
・canvasの準備ができたら次はコードを追加しましょう。
今回は「ShotShell」スクリプトにコードを追加します。
下記★追加(4箇所)のコードを記載しましょう。
using UnityEngine;
using System.Collections;
// ★追加
using UnityEngine.UI;

public class ShotShell : MonoBehaviour {

	public GameObject shellPrefab;
	public float shotSpeed;
	public AudioClip shotSound;
	public int shotCount;

	// ★追加
	public Text shellLabel;

	void Start(){

		// ★追加
		shellLabel.text = "砲弾:" + shotCount;
	}

	void Update () {

		if(Input.GetButtonDown("Fire1")){

			if(shotCount < 1)
				return;

			Shot();

			AudioSource.PlayClipAtPoint(shotSound, transform.position);

			shotCount -= 1;

			// ★追加
			shellLabel.text = "砲弾:" + shotCount;
		}

	}

	public void Shot(){

		GameObject shell = Instantiate(shellPrefab, transform.position, Quaternion.identity) as GameObject;

		Rigidbody shellRigidbody = shell.GetComponent<Rigidbody>();

		shellRigidbody.AddForce(transform.forward * shotSpeed);

		Destroy(shell, 2.0f);
	}
}
・コードの記載ができたらいつものようにチェック。
・「Hierarchy」にある「ShotShell」オブジェクトをクリックして選択。
・「Inspector」の中の「Shell Label」に「ShellLabel」テキストをドラッグ&ドロップする。
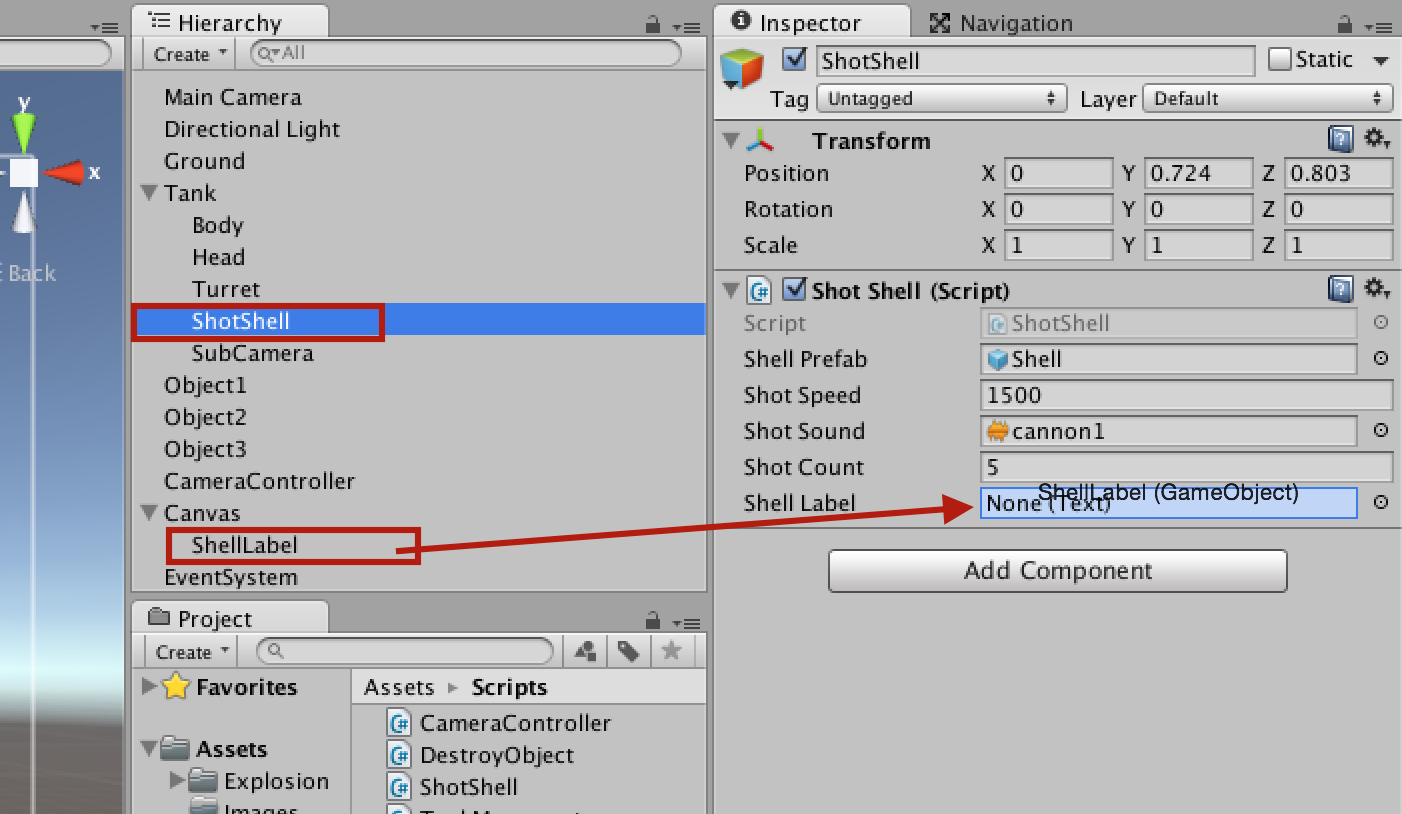
これで準備ができました。
再生ボタンを押して砲弾を発射してみましょう。
発射するたびに「弾数」の表示が減っていけば成功です。